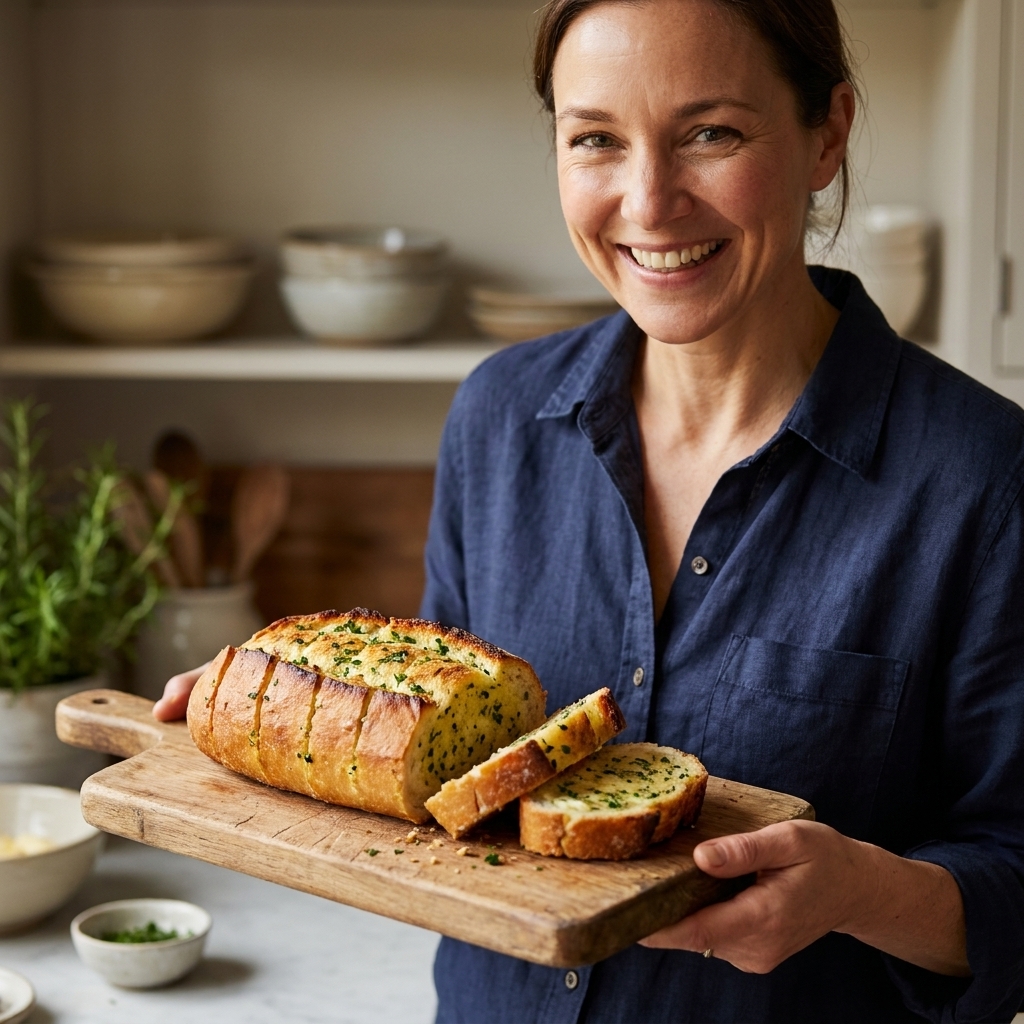
From choosing the best bread to mixing garlic herb butter and baking to golden, bubbly perfection, this step-by-step guide makes garlic bread fast, flexible,...
Recipe Homely
October 17, 2026
Last updated October 17, 2026
Perfect Baked Mac and Cheese With a Crispy Topping

Sarah Jenkins
Sarah Jenkins is a passionate home cook and the voice behind Recipe Homely, dedicated to making everyday meals stress-free and delicious. With over a decade of experience feeding a busy family, she specializes in rigorously tested, approachable recipes for dinners, desserts, and everything in between. When she isn't developing new dishes, Sarah can be found browsing local farmers' markets or baking with her two children.
There are two kinds of baked mac and cheese: the kind that’s creamy and comforting, and the kind that’s… a little dry with a sad topping that falls off in one sheet. If you’ve ever ended up with the second, you’re not alone. I’ve made every mistake in my average-sized kitchen so you don’t have to, and I can tell you this with confidence: a crispy topping is not an accident. It’s a handful of small choices that add up to a golden, crunchy lid over a silky, cheesy center.
Below, I’ll walk you through the exact steps I use at home, including the best melting cheeses, how to keep the sauce from breaking, and my favorite breadcrumb method that stays crunchy even after it sits on the table for a few minutes.
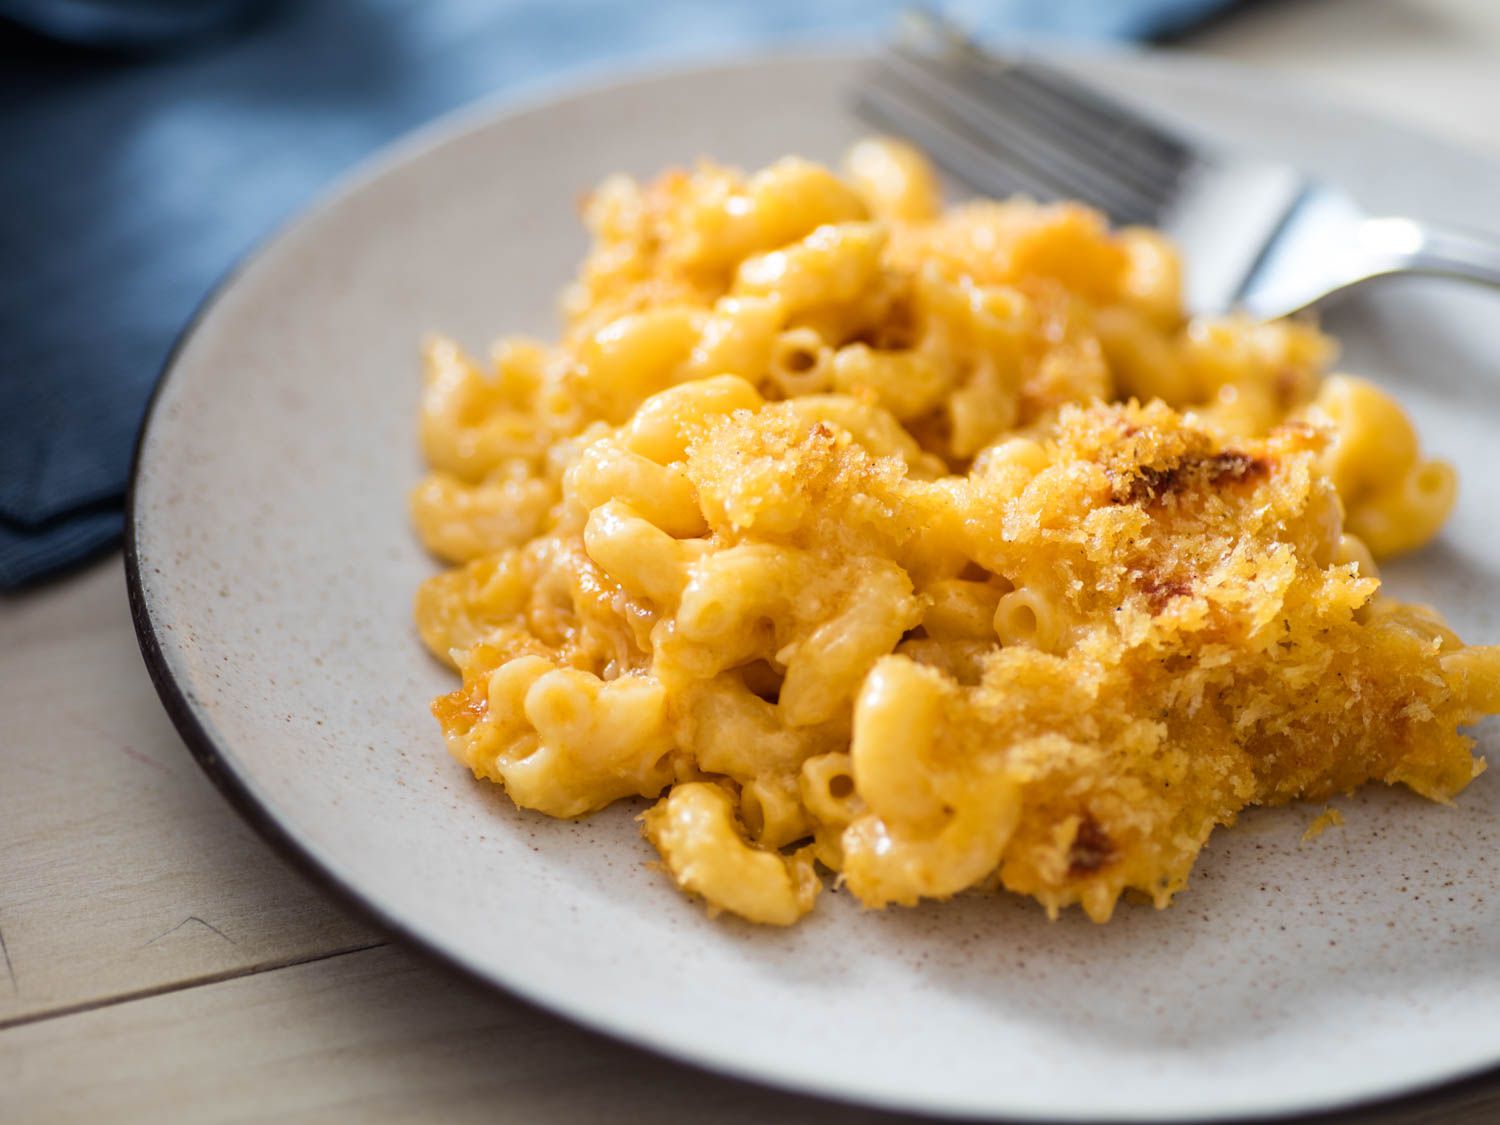
The crispy topping secret
If you only remember one thing, make it this: toast the breadcrumbs with butter before they go on the mac. Sprinkling dry crumbs on top and hoping the oven does the rest usually leads to pale crumbs and a soft, steamy top. Pre-toasting gives you:
- More reliable crunch, even if the mac sits a bit before serving
- Better flavor, because butter-toasted crumbs taste nutty and rich
- More even browning, since the crumbs start their journey already on the right track
And one more small trick that matters: keep the topping dry. That means no extra sauce spooned over the top and no overfilling the dish to the brim where bubbling sauce can soak your crumbs.
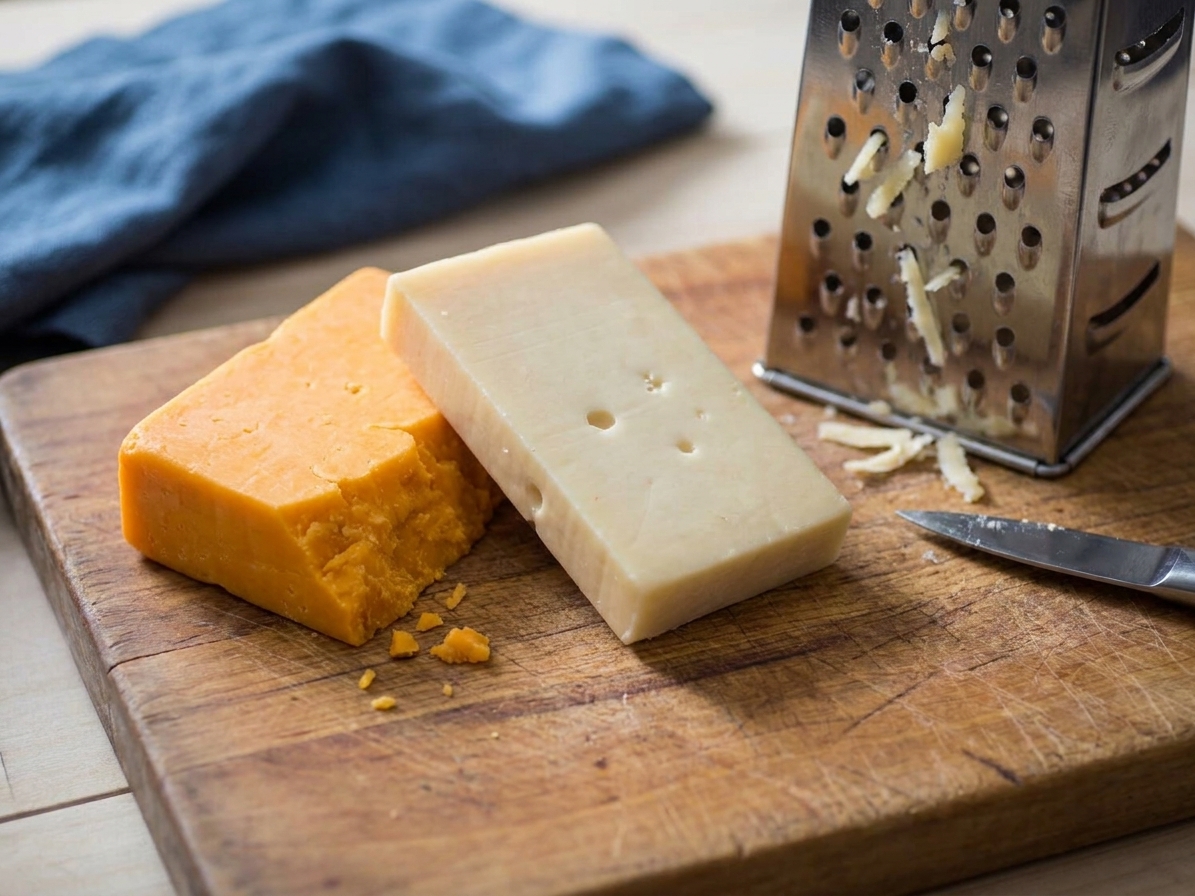
Cheeses that melt well
For baked mac and cheese, I want two things from my cheese: melt and flavor. Using only one cheese rarely gets you both.
My go-to cheese blend
- Sharp cheddar for classic mac and cheese flavor
- Gruyère (or Swiss) for smooth melt and a slightly nutty depth
- Mozzarella for stretch and extra creaminess (optional but lovely)
If you want a super simple blend: do 2 parts sharp cheddar and 1 part Gruyère. It bakes up creamy and tastes like you did something fancy, even if you’re cooking in sweatpants.
Cheese choices to rethink
- Pre-shredded cheese (it’s often coated to prevent clumping, which can make sauces less smooth)
- Very aged hard cheeses as the main melt (a little Parmesan is great for flavor, but it won’t give you a creamy sauce on its own)
- All mozzarella (it can get stretchy in a way that reads “pizza,” not “mac”)
Busy-night shortcut I fully support: shred the cheese in the morning or the night before and keep it in a container in the fridge. Future you will be so grateful.
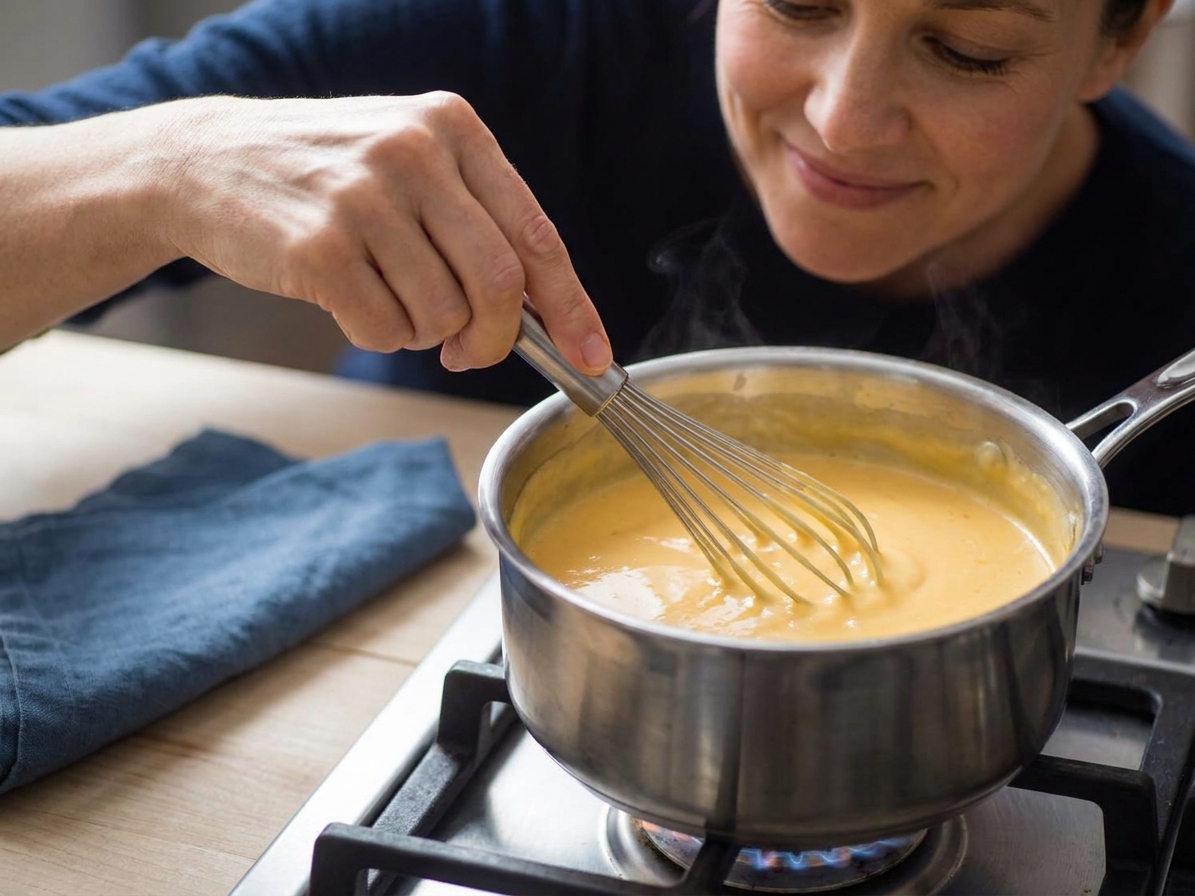
A sauce that stays creamy
Baked mac and cheese dries out when the sauce is too thick going in, or when it’s cooked too aggressively. Here’s the approach that keeps it lush.
1) Make a gentle roux
Melt butter, whisk in flour, and cook just until it smells a little toasty. You’re not trying to brown it deeply, just cook off the raw flour taste.
2) Add milk and whisk smooth
If you have time, slightly warming the milk helps it come together faster. If you don’t, cold milk still works. You’ll just whisk a bit longer.
3) Simmer to a light coat
You’re aiming for a sauce that lightly coats the back of a spoon, not something as thick as queso dip. Remember: it thickens more in the oven.
4) Season, then add cheese off the heat
Once the sauce is smooth, season it with salt and black pepper, then turn the heat off. Add the shredded cheese in handfuls, stirring until melted before adding more. High heat is a common cause of grainy, broken sauce.
My family-friendly flavor boosters (choose one or two):
- 1 teaspoon Dijon mustard (you won’t taste “mustard,” it just wakes up the cheese)
- 1/2 teaspoon garlic powder
- Smoked paprika for a cozy, subtle smoky note
- A pinch of cayenne if your crowd likes a little zip
Pasta that bakes well
Use a pasta shape that grabs sauce and holds up in the oven. Elbows are classic for a reason, but you have options.
Best shapes
- Elbow macaroni
- Cavatappi (my personal favorite for extra sauce-holding spirals)
- Shells (great little sauce pockets)
Cook it slightly under
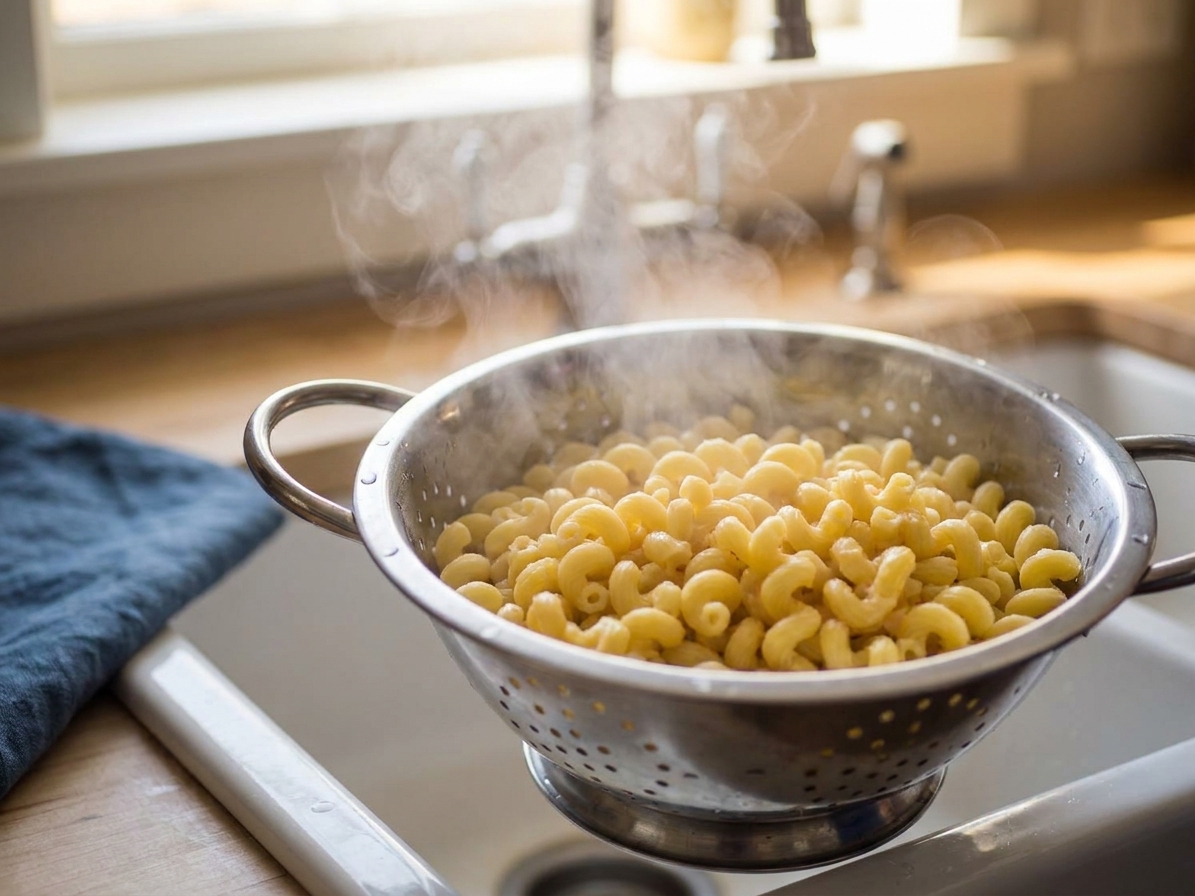
Boil the pasta 1 to 2 minutes shy of al dente. It continues cooking in the oven and soaking up sauce as it goes. If you fully cook it on the stove, it can turn soft and the finished dish can feel dry.
My small-but-mighty tip: salt your pasta water like you mean it. Mac and cheese needs that seasoning in the pasta itself, not just in the sauce. And no, don’t rinse the pasta. You want that starchy surface so the sauce clings.
Crunchy breadcrumb topping
This is my crispy topping formula, the one that gets scraped off the pan by the people who “aren’t that hungry.”
Best crumbs
- Panko for the crispiest, crunchiest texture
- Fresh breadcrumbs for a softer, more classic topping
- Crushed butter crackers if you want that nostalgic potluck vibe
My topping ratio
For a standard 9x13-inch dish:
- 1 1/2 to 2 cups panko
- 4 tablespoons butter
- 2 to 3 tablespoons grated Parmesan (optional, but adds a savory edge)
- Pinch of salt
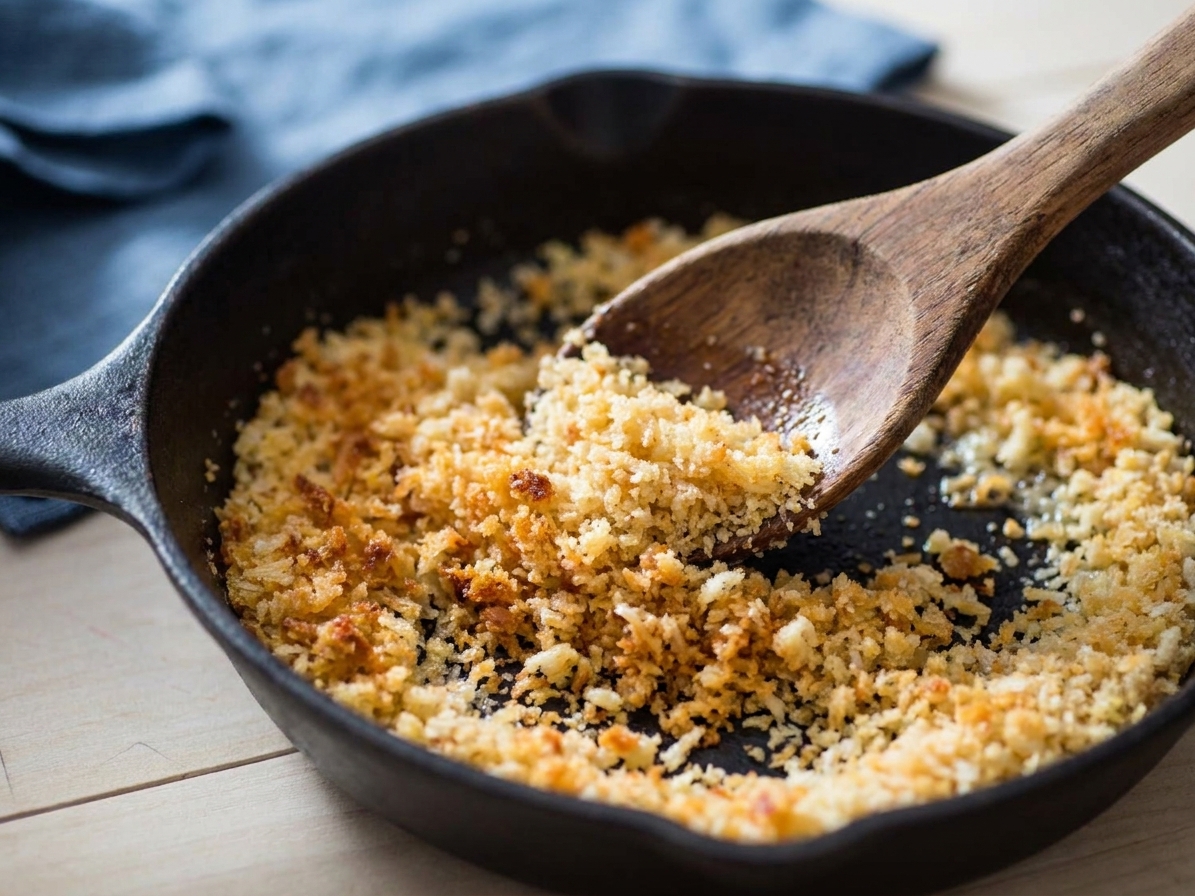
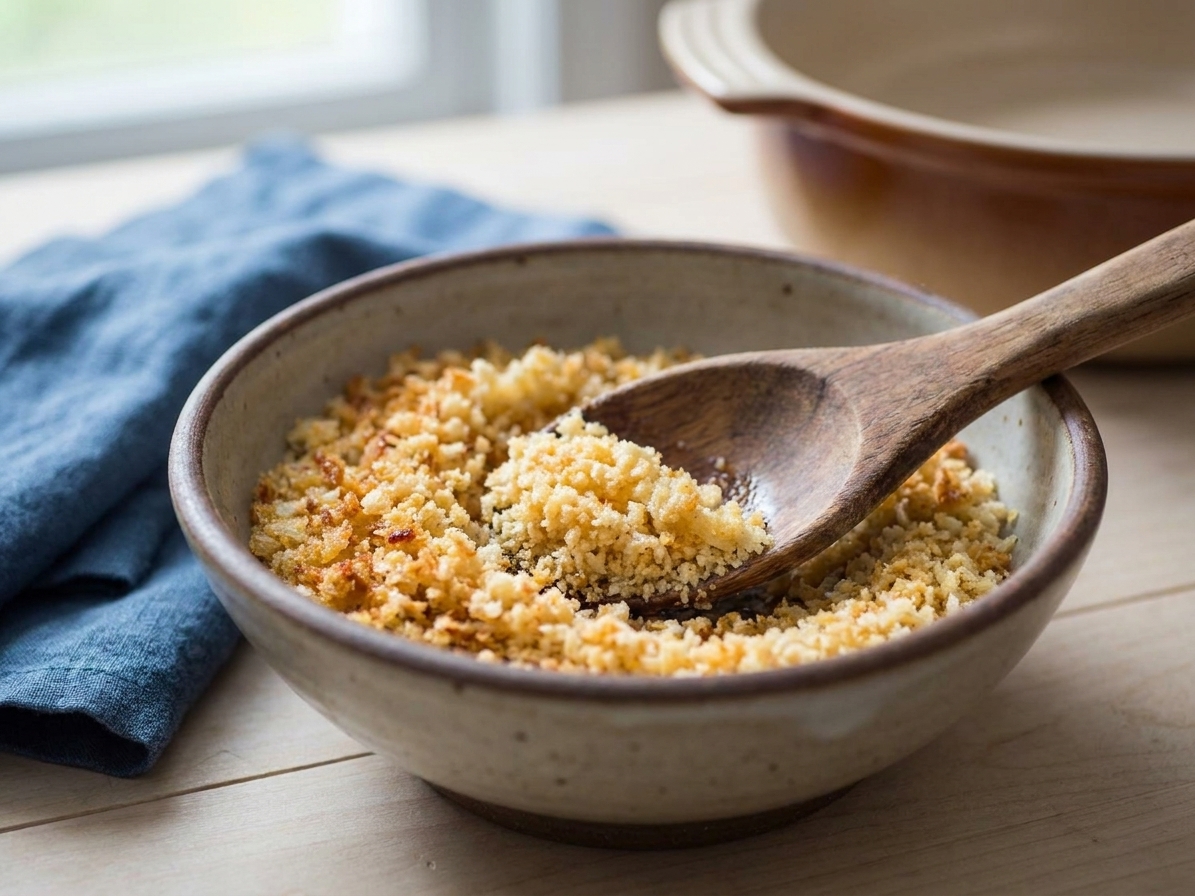
Melt the butter in a skillet, stir in panko and salt, and toast until golden. Take it off the heat, then stir in Parmesan if using.
Extra-crispy upgrade: add 1 tablespoon olive oil along with the butter. It helps the crumbs crisp and brown evenly.
A simple base recipe
If you want a dependable starting point for a family-size pan, this is the formula I use most often. It’s not fussy, and you can scale it up or down.
- Pasta: 1 pound (elbows, cavatappi, or shells)
- Roux: 4 tablespoons butter + 4 tablespoons flour
- Milk: 4 to 5 cups whole milk (start with 4, add more if your sauce seems too thick)
- Cheese: 4 to 6 cups shredded cheese total (cheddar plus Gruyère is my default)
- Seasoning: salt and black pepper, plus any boosters you like
- Topping: use the toasted panko ratio above
The goal is a sauce that looks a touch looser than you think it should. The pasta will thicken it as it bakes.
How I assemble it
This is the order that keeps everything creamy and gives you that crisp top without overbaking.
- Boil pasta until 1 to 2 minutes shy of al dente. Drain (don’t rinse).
- Make the cheese sauce (roux, milk, simmer, then cheese off heat).
- Combine pasta and sauce in a big bowl or right in the pot.
- Add extra cheese (optional but delicious): fold in 1 to 2 cups of shredded cheese so you get pockets of gooey melt.
- Pour into a buttered baking dish and level it out.
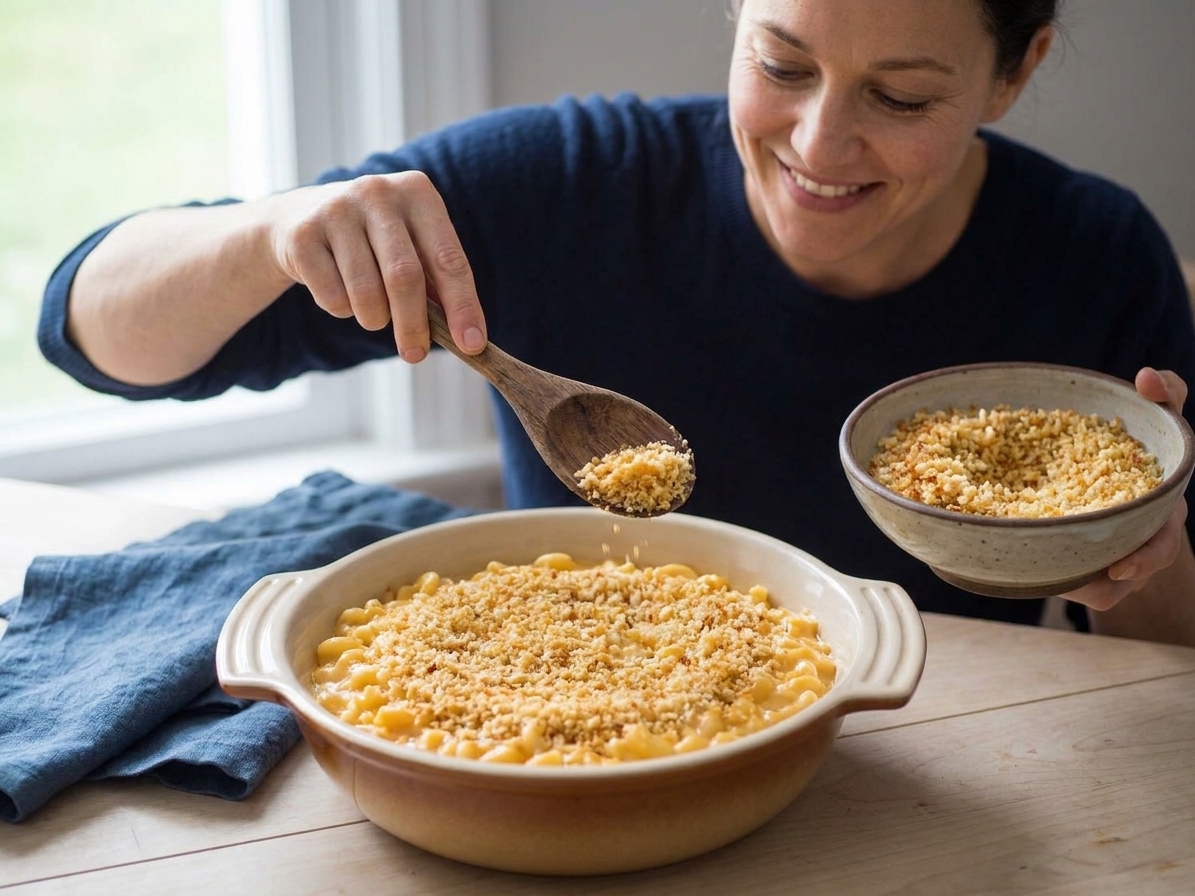
- Top with toasted breadcrumbs in an even layer.
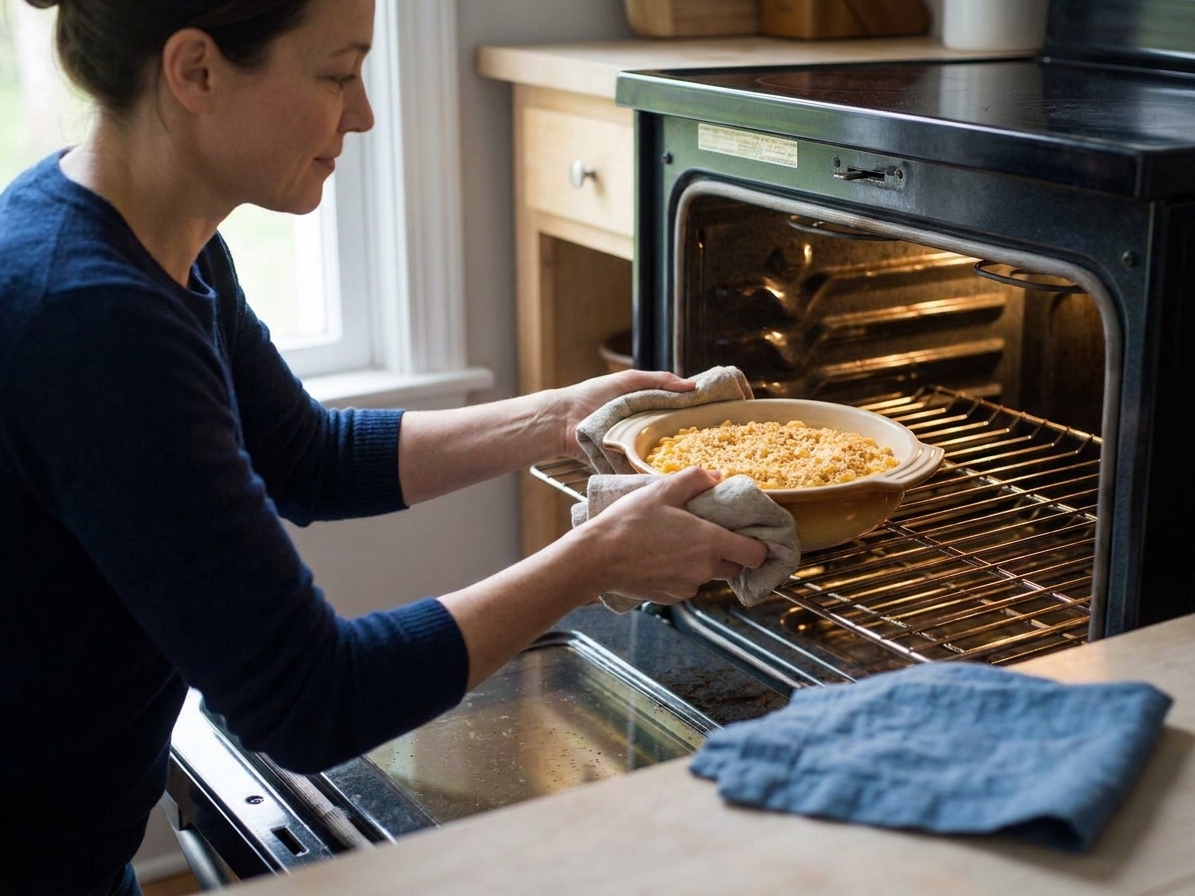
- Bake at 350°F until the edges are bubbling and the center is hot, usually 20 to 30 minutes depending on your dish and how warm everything started.
- Broil briefly (optional) for 1 to 2 minutes for deeper browning. Keep the dish a few inches from the broiler and stay right there. Breadcrumbs go from golden to scorched fast.
- Rest 10 minutes before scooping. This helps it set slightly so you get creamy slices instead of a lava flood.
Common issues and fixes
My topping isn’t crispy
- Fix: Toast crumbs in butter first, then bake uncovered.
- Also check: Is sauce bubbling up over the top? Use a slightly larger dish or don’t fill it as high.
My mac and cheese is dry
- Fix: Slightly undercook pasta and make the sauce a bit looser on the stove.
- Also check: Overbaking. You only need it hot throughout and bubbling at the edges.
My cheese sauce turned grainy
- Fix: Add cheese off the heat and use freshly shredded cheese when you can.
- Also check: Boiling after adding cheese can cause separation.
The sauce seems thin before baking
That’s often correct. Pasta will absorb liquid as it bakes. If it looks like soup, that’s different. But if it looks like a creamy, pourable sauce, you’re right where you want to be.
Make-ahead and leftovers
Make ahead
You can assemble the mac and cheese (without the breadcrumb topping), cover, and refrigerate up to 24 hours. When you’re ready to bake, add freshly toasted breadcrumbs right before it goes in the oven. Plan to add extra bake time since it’s starting cold, often 10 to 20 minutes. Bake until the edges are bubbling and the center is hot.
Food safety note I actually use in my own kitchen: don’t let the casserole sit out at room temperature for more than 2 hours total.
Freezer tip
Freeze the assembled mac and cheese without the topping. Thaw overnight in the fridge, then add freshly toasted crumbs and bake until hot and bubbling.
Reheating leftovers
For the best texture, reheat in the oven at 325°F, covered for 15 to 20 minutes, then uncover for a few minutes at the end to help the top dry out. The microwave works, but the topping will soften.
Serving ideas
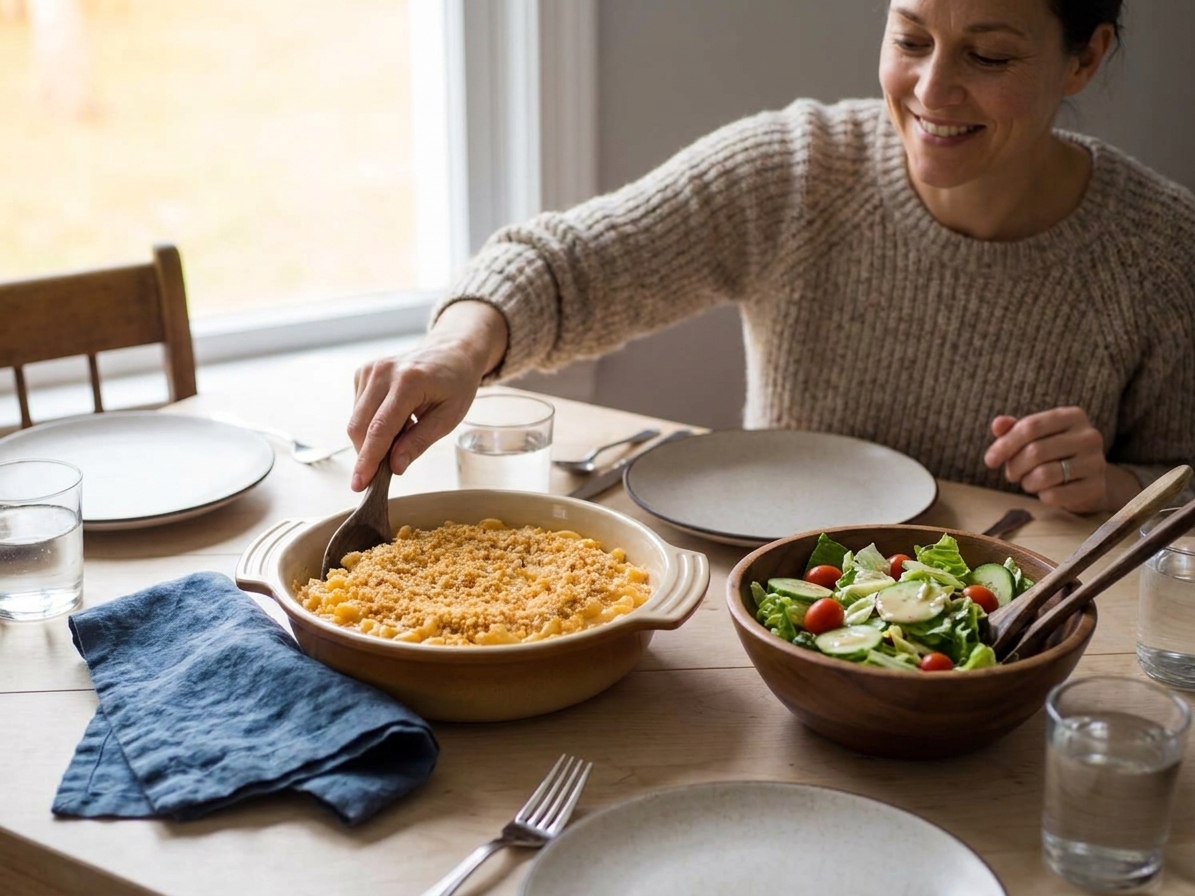
Baked mac and cheese is absolutely a main dish in my house. But it also plays nicely next to a lot of weeknight staples.
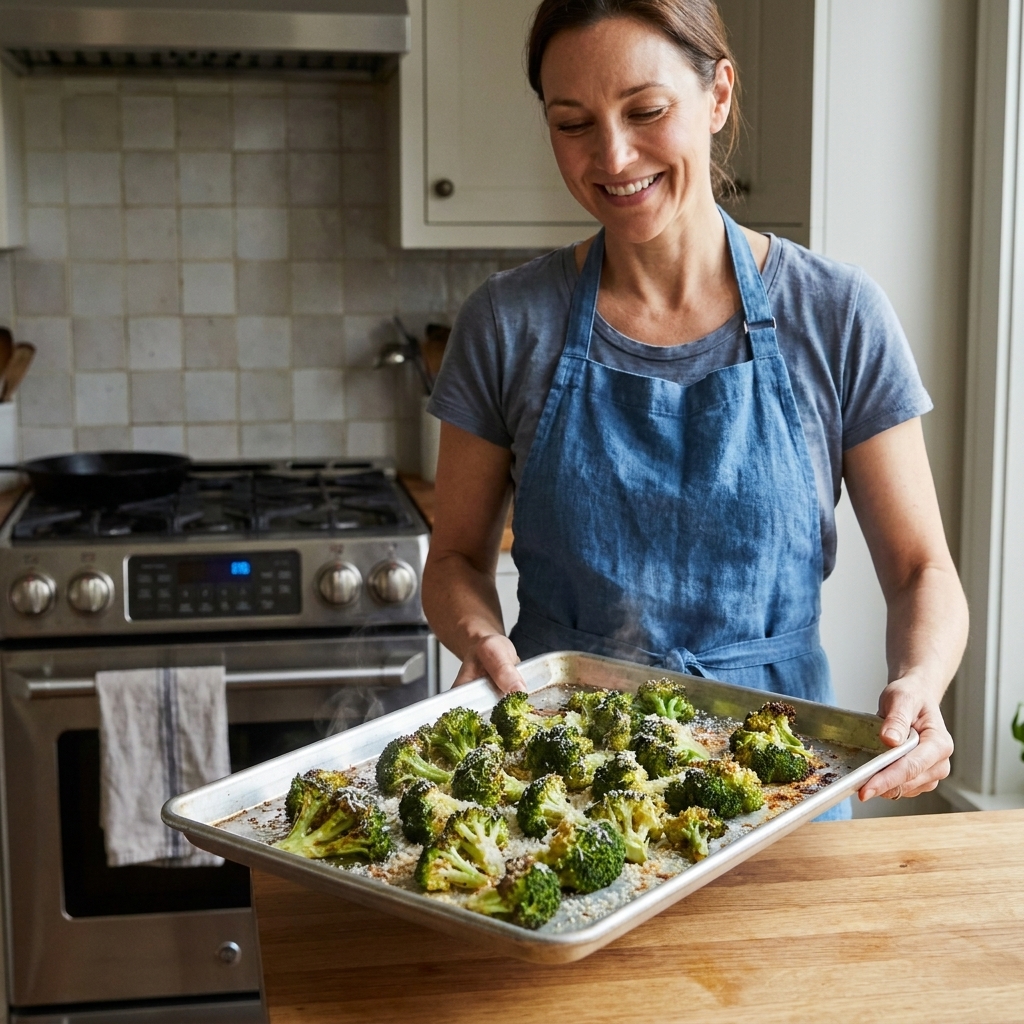
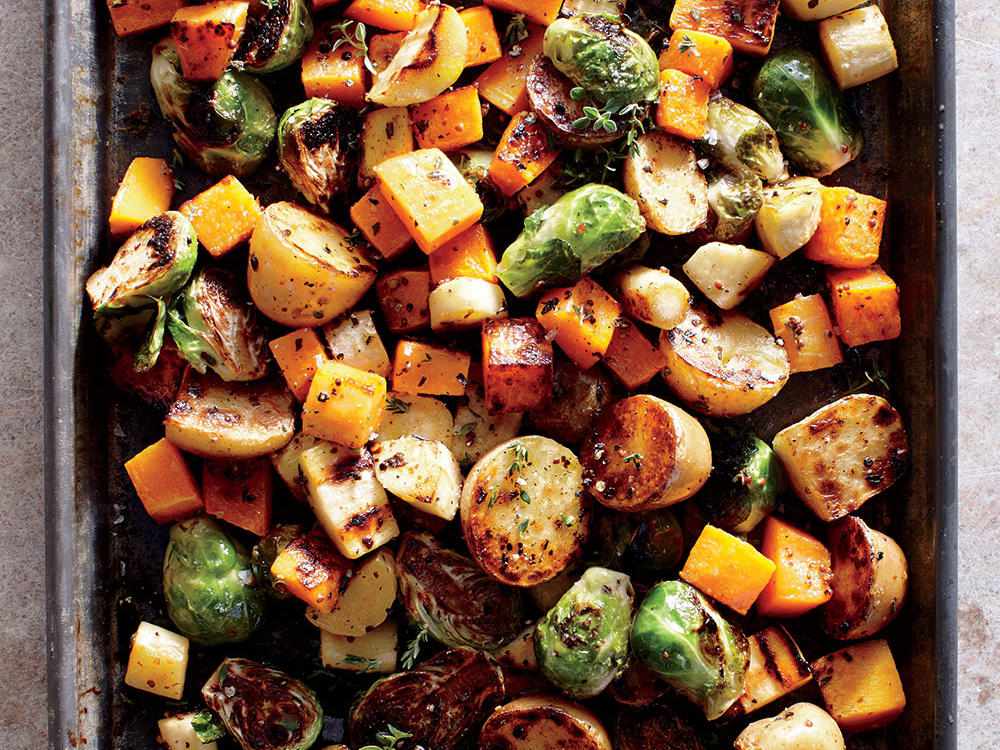
- With greens: simple side salad, roasted broccoli, or sautéed green beans
- With protein: rotisserie chicken, baked ham, or meatloaf
- For kids: serve with apple slices or peas and call it a day
FAQ
Should I cover baked mac and cheese?
No, not if you want a crispy topping. Covering traps steam and softens the top. If you notice the top browning too quickly before the center is hot, lower the oven rack and tent loosely with foil until the center is hot, then uncover for the last few minutes to re-crisp the topping.
What’s the best dish for baking mac and cheese?
A ceramic or glass 9x13-inch baking dish is my go-to for family-sized mac. For an extra-crispy top, use a slightly wider, shallower dish so there’s more surface area for breadcrumbs.
Can I use evaporated milk instead of making a roux?
You can, and it makes a very creamy stovetop-style base. For baked mac and cheese, I still prefer a roux-thickened sauce because it holds up better in the oven. If you do use evaporated milk, keep the bake time shorter and watch closely so it doesn’t dry out.
How do I make it extra creamy and still bake it?
Two tricks: undercook the pasta slightly, and add an extra splash of milk to loosen the sauce before mixing. Also, don’t bake longer than needed to get it hot throughout and bubbling at the edges.