A home-baker’s guide to choosing butter or oil for cakes and brownies, with the science behind moisture, tenderness, flavor, and the easiest swap rules.
Recipe Homely
October 17, 2026
Last updated October 17, 2026
Foolproof Flaky Pie Crust

Sarah Jenkins
Sarah Jenkins is a passionate home cook and the voice behind Recipe Homely, dedicated to making everyday meals stress-free and delicious. With over a decade of experience feeding a busy family, she specializes in rigorously tested, approachable recipes for dinners, desserts, and everything in between. When she isn't developing new dishes, Sarah can be found browsing local farmers' markets or baking with her two children.
If you have ever followed a pie crust recipe that promised “easy” and still ended up with a tough, shrinking, or cracking crust, you are not alone. Pie crust is one of those baking basics that looks simple, but the details matter.
This is the exact all-butter crust I make in my own average-sized kitchen for weeknight quiches, weekend apple pies, and the “Mom, can we do pie?” requests that magically pop up right before a school event. I am going to walk you through the little cues that make it foolproof, especially butter temperature and a super simple folding technique that builds flaky layers without stress.
What makes a pie crust flaky?
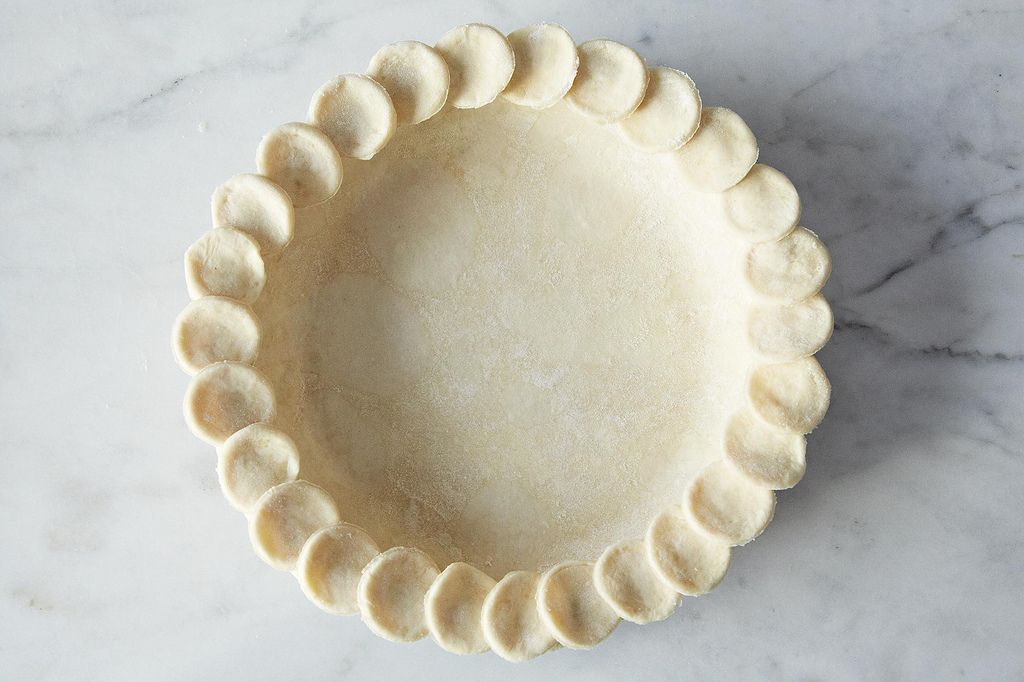
Flakiness comes from thin sheets of butter trapped in the dough. In the oven, butter melts and releases steam. That steam lifts and separates layers of dough, giving you those beautiful flakes.
- Cold butter stays in pieces (layers) instead of blending into the flour.
- Minimal mixing helps prevent gluten from getting tough and stretchy.
- Folding creates extra layers without needing fancy technique.
- Chilling relaxes the dough so it rolls and bakes without shrinking.
Ingredients
This recipe makes enough for one 9-inch double crust pie (top and bottom), or two single crusts.
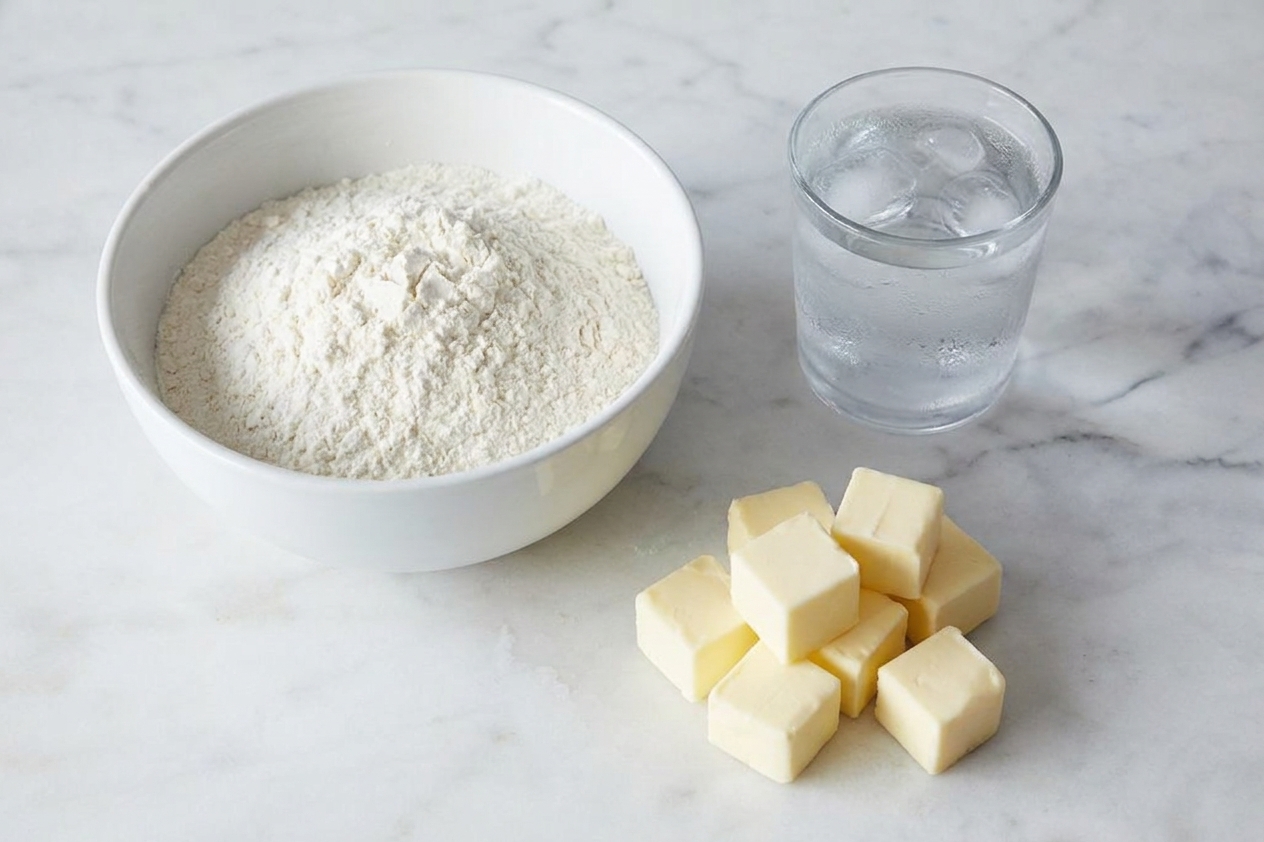
- 2 1/2 cups (300g) all-purpose flour, spooned and leveled
- 1 teaspoon fine salt
- 1 tablespoon sugar (optional but I like it for color and balance, even for many fruit pies)
- 1 cup (226g) unsalted butter, very cold, cut into 1/2-inch cubes
- 6 to 10 tablespoons ice water (start small, add as needed)
- 1 tablespoon apple cider vinegar or lemon juice (optional, can help the dough stay tender and easier to roll)
Butter choice
Use unsalted so you control the salt. Any grocery-store butter works. If your kitchen runs warm, pop the butter cubes in the freezer for 10 minutes before you start.
Flour note
All-purpose flour is reliable and forgiving. Bread flour has too much protein for a tender crust, and pastry flour can be a little delicate if you are still building confidence.
Tools
- Large mixing bowl
- Pastry cutter, fork, or your fingertips (clean, cool hands)
- Measuring cups and spoons
- Plastic wrap
- Rolling pin
- Bench scraper (optional but handy)
- 9-inch pie dish
- Rimmed baking sheet (for blind baking and any butter drips)
Butter temperature cues
This is the part that changes everything.
- Perfect butter for pie crust feels firm, not bendy, and you can still cut it with a knife.
- If butter smears when you press it, it is too warm. Chill 10 to 15 minutes and try again.
- If butter is rock hard and you cannot cut it cleanly, let it sit 5 minutes on the counter, then cube.
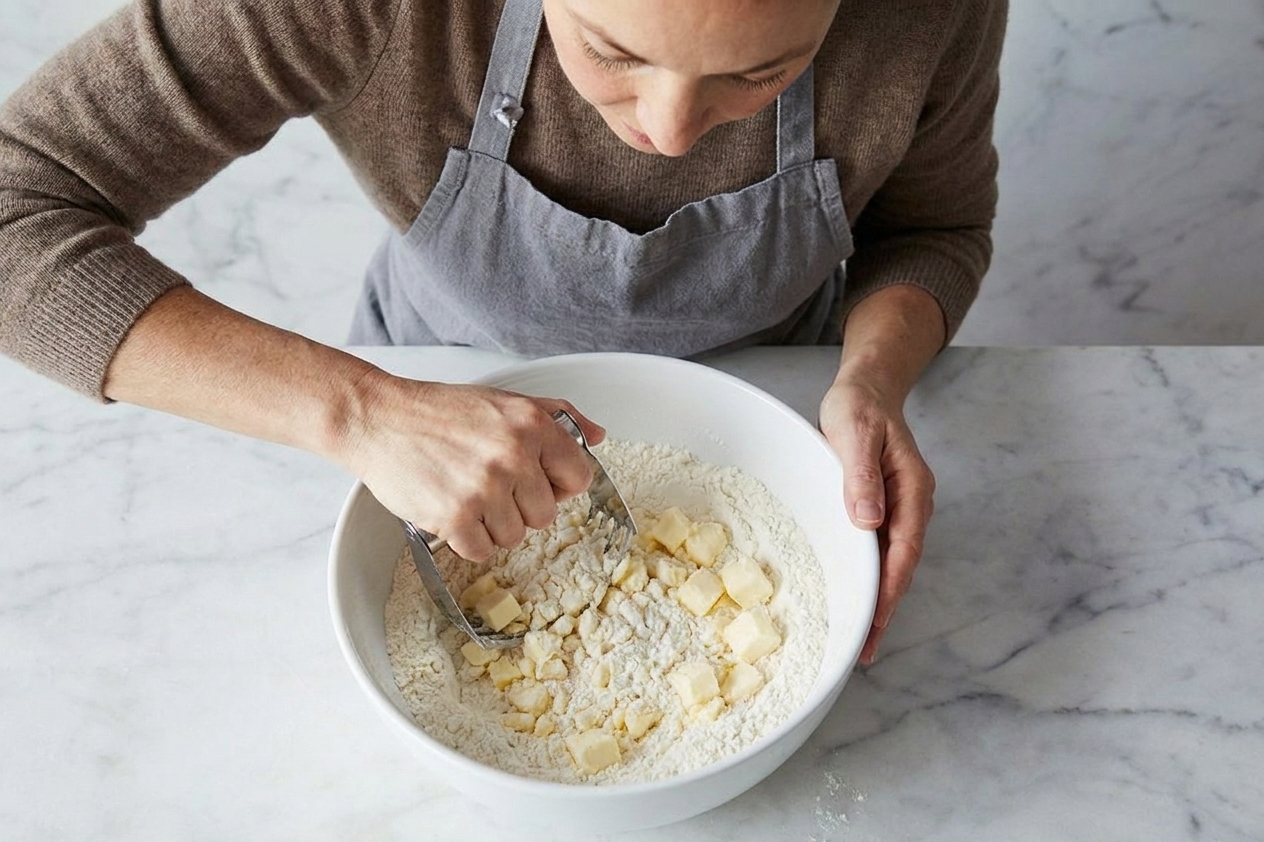
In the finished flour mixture, you want butter pieces in a mix of sizes: some like peas, some like almonds. Those bigger pieces are your flake makers.
Step-by-step
I am going to write this like I am right there with you. Read through once, then start. Pie crust rewards calm energy.
1) Mix dry ingredients
In a large bowl, whisk together the flour, salt, and sugar (if using).
2) Cut in the butter
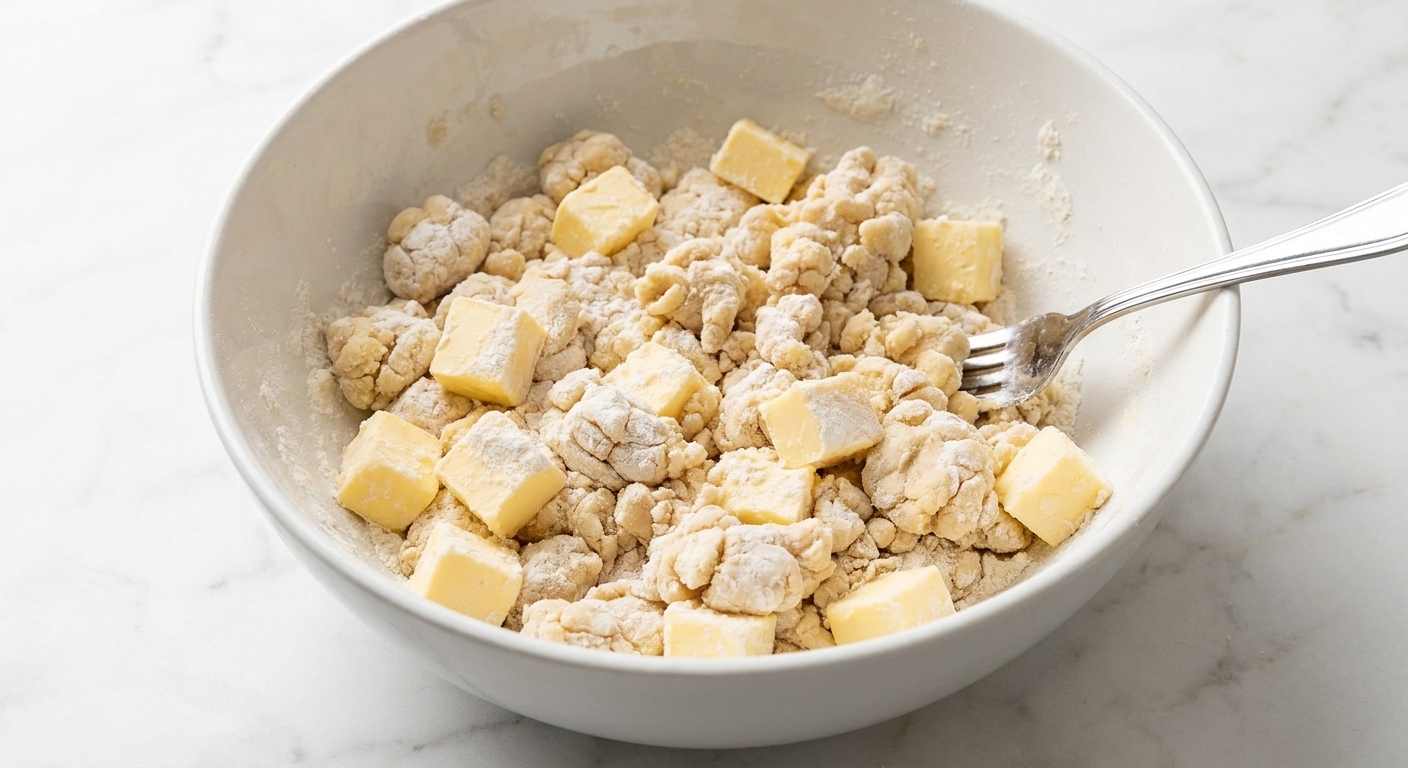
Add the cold butter cubes. Use a pastry cutter (or two forks) to cut the butter into the flour until you have a mix of pea-size and almond-size pieces.
Beginner tip: If you are unsure whether to keep going, stop. Overworking here is the fastest route to a tough crust.
3) Add vinegar (optional) and ice water
Stir the vinegar into your ice water. Drizzle 6 tablespoons over the flour mixture and toss with a fork. Add more water 1 tablespoon at a time until the dough looks shaggy and starts to hold together when you squeeze a handful.
The dough should not look smooth. Shaggy is good. Smooth usually means too much water or too much mixing.
4) Fold for flaky layers
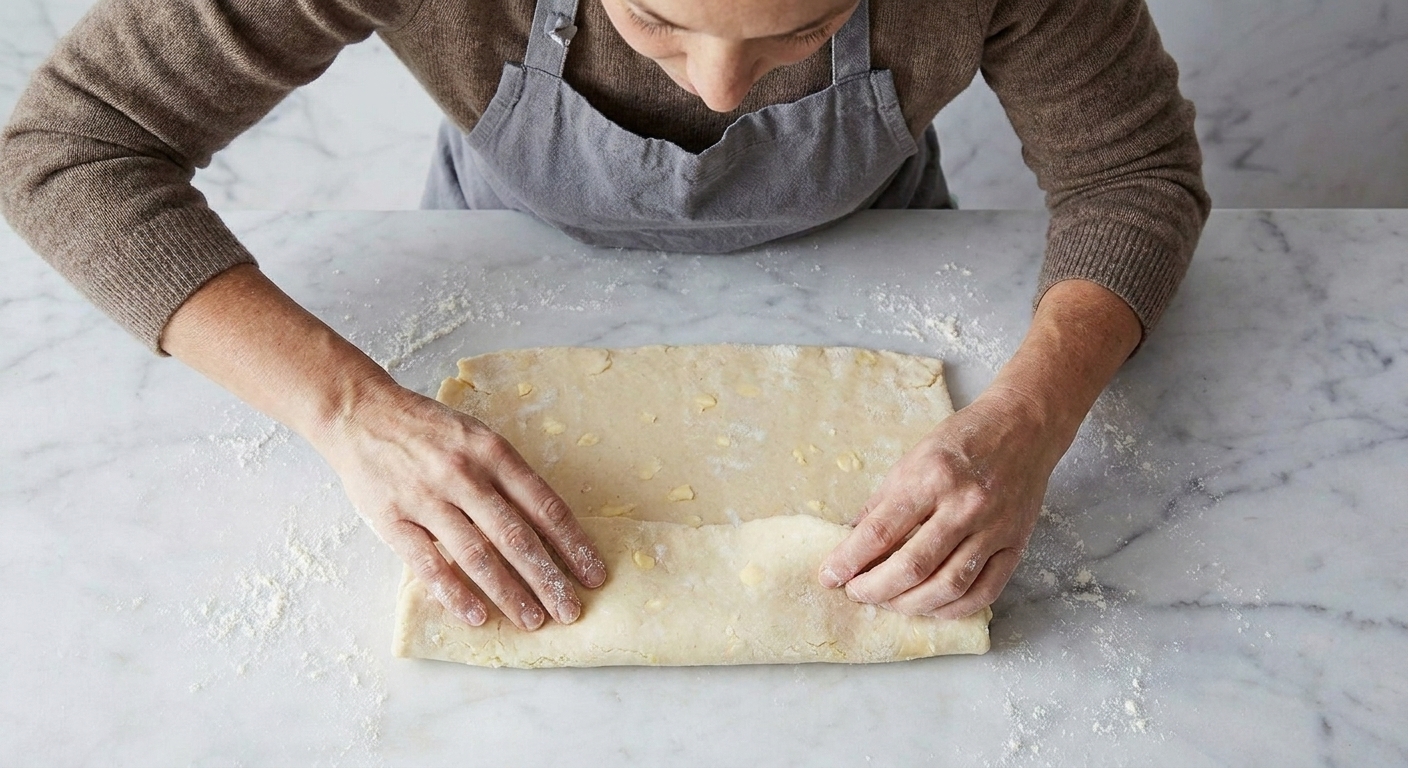
Turn the dough out onto a lightly floured counter. Gently press it into a rough rectangle. Fold it in thirds like a letter, then rotate and fold once more. You will still see butter streaks and chunks. Perfect.
This quick fold gives you layers without needing any fancy technique.
5) Divide, wrap, and chill
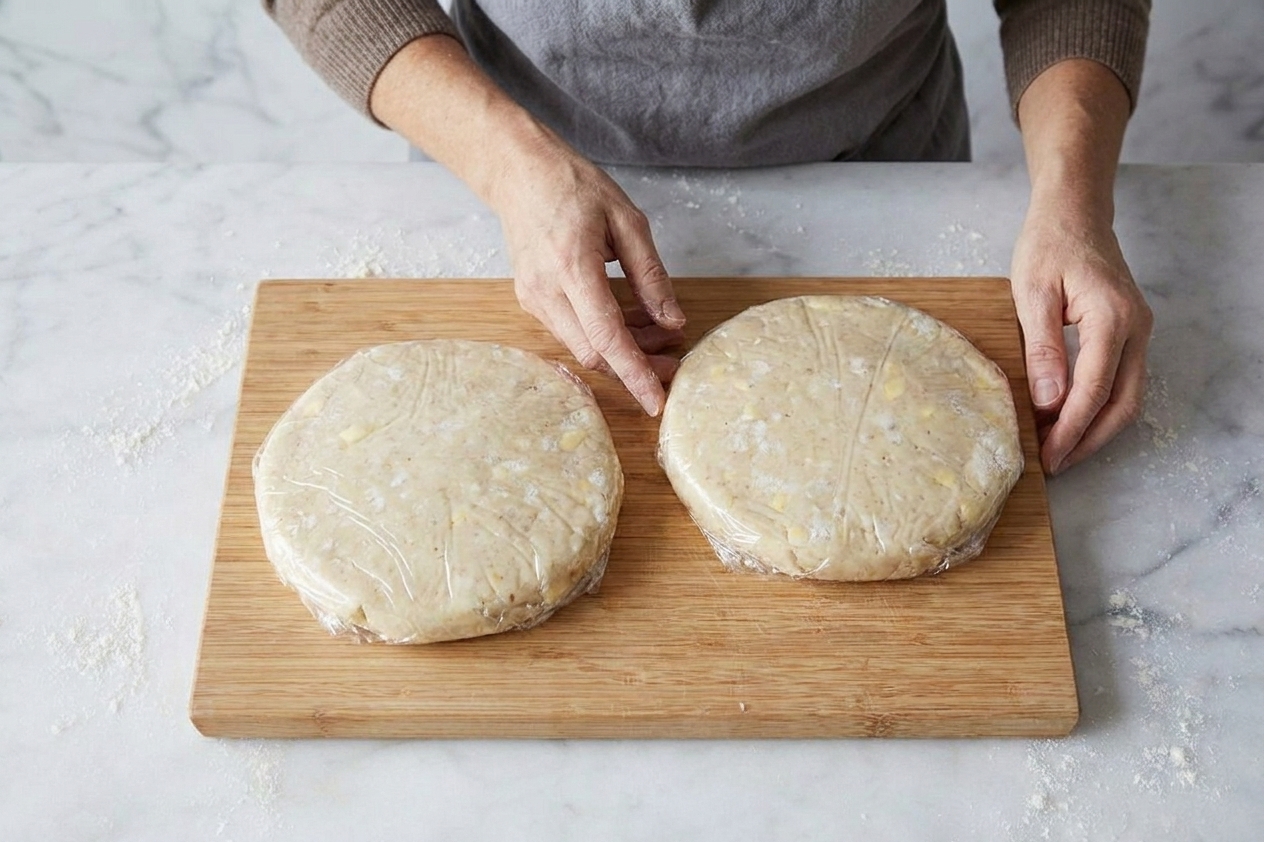
Divide the dough into two equal pieces. Shape each into a 1-inch thick disc. Wrap tightly in plastic wrap and refrigerate for at least 2 hours, or up to 3 days.
In a hurry? Chill 30 minutes in the freezer, then move to the fridge until firm but rollable.
6) Roll it out
Let one dough disc sit at room temperature for 5 to 10 minutes so it softens slightly. Keep the second disc in the fridge while you work. On a lightly floured surface, roll from the center outward, turning the dough a quarter turn often. Aim for a circle about 12 inches wide for a 9-inch pie dish.
If the dough cracks at the edges: It is too cold. Let it rest 2 to 3 minutes, then continue rolling. You can also pinch cracks closed as you go.
7) Transfer to the pie dish
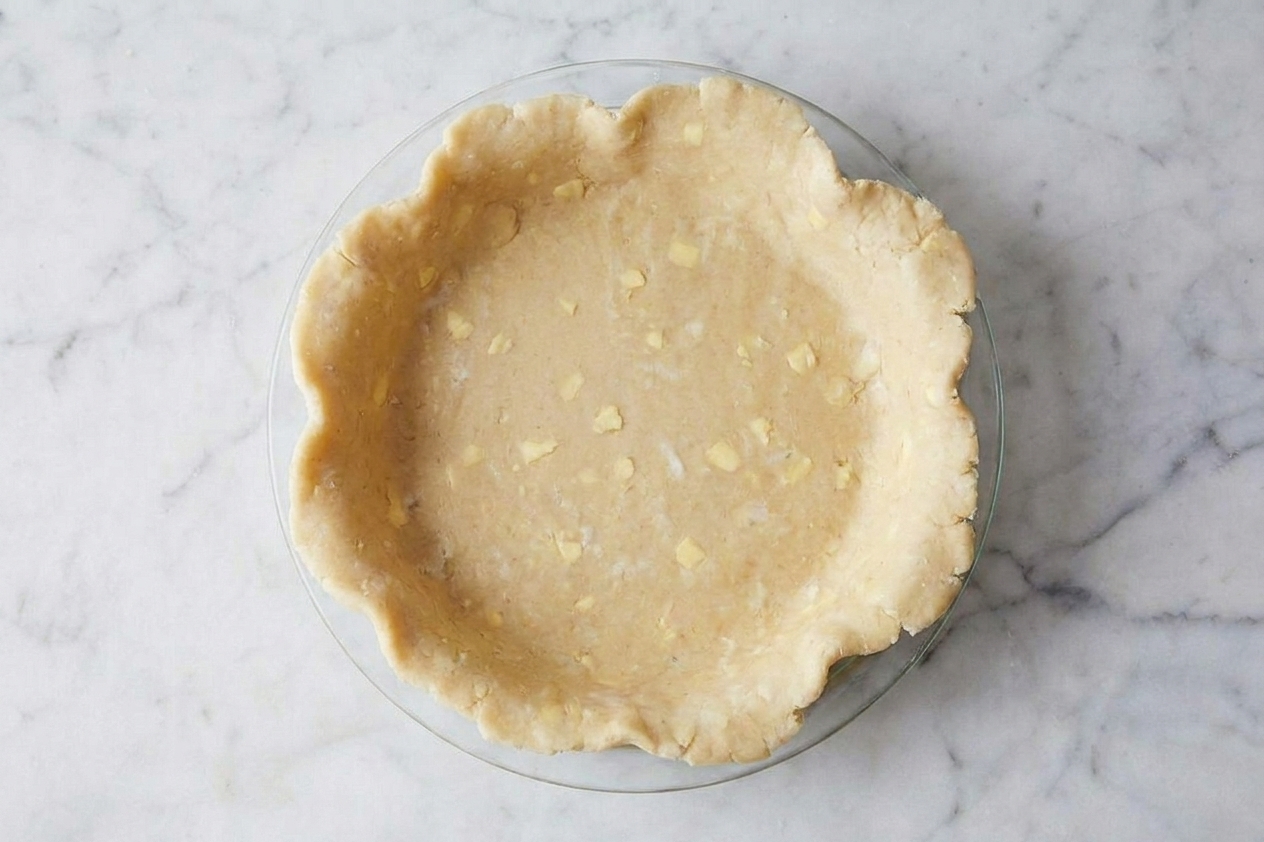
Roll the dough up around your rolling pin and unroll it into the dish, or fold it into quarters and unfold. Gently lift and settle the dough into the corners without stretching.
8) Chill before baking
Once your crust is in the pie dish (and filled, if your recipe calls for it), chill the assembled pie for 15 to 30 minutes. Cold dough going into a hot oven helps keep your edges from slumping.
Blind baking
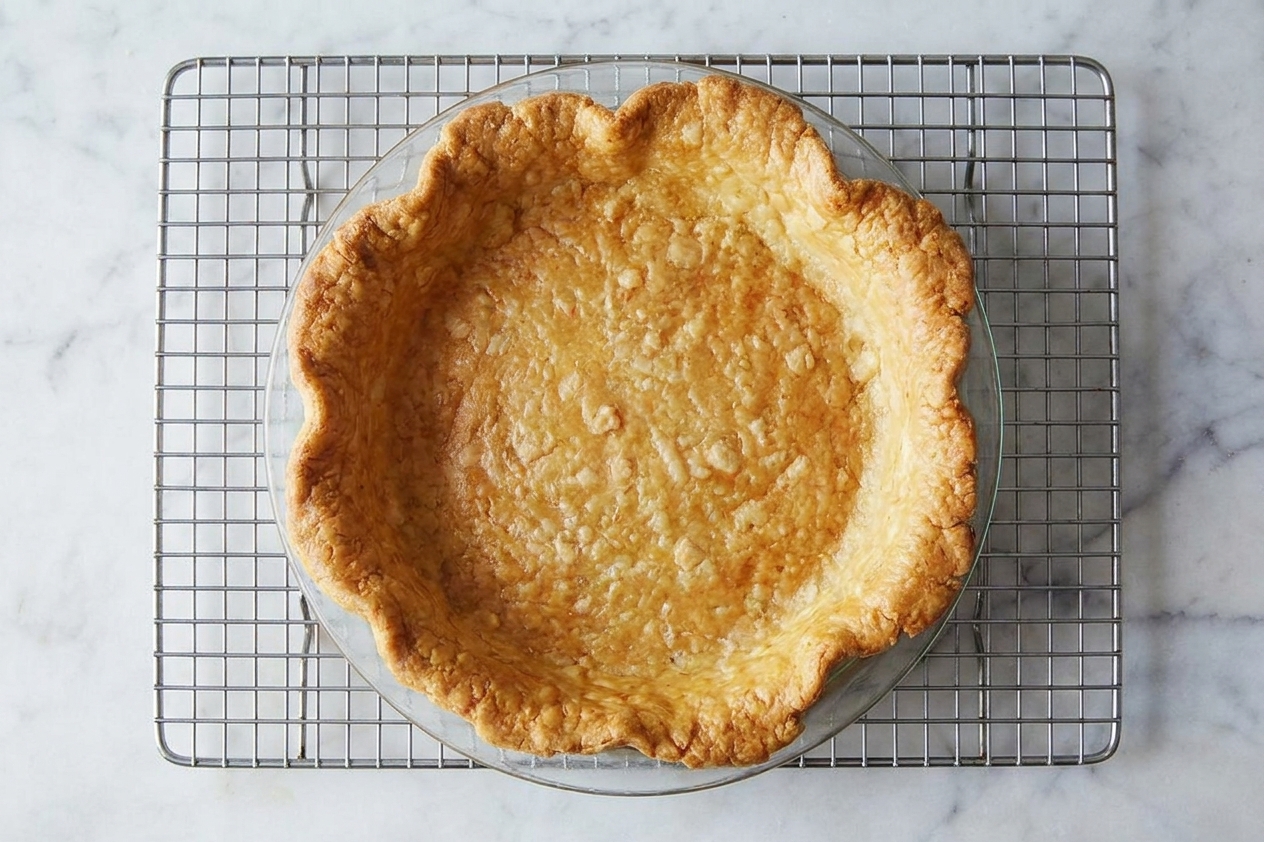
Blind baking is usually essential for cream pies and no-bake fillings, and it is often recommended for custard-style pies. For custards in particular, follow your specific recipe, since some bake long enough that a par-bake is optional.
Oven setup: Position a rack in the middle of the oven. Set a rimmed baking sheet on the rack to preheat with the oven. Baking the pie on the hot sheet helps the bottom cook and also catches any butter drips.
For a partially baked crust
- Heat oven to 375°F.
- Line chilled crust with parchment paper.
- Fill with pie weights or dried beans all the way up the sides.
- Bake 18 to 20 minutes, until the edges look set and are just beginning to take on a little color.
- Remove weights and parchment, then bake 5 to 8 minutes more, until the bottom looks matte, dry, and no longer raw.
For a fully baked crust
- Do the steps above.
- After removing the weights, bake 10 to 15 minutes more, until lightly golden all over.
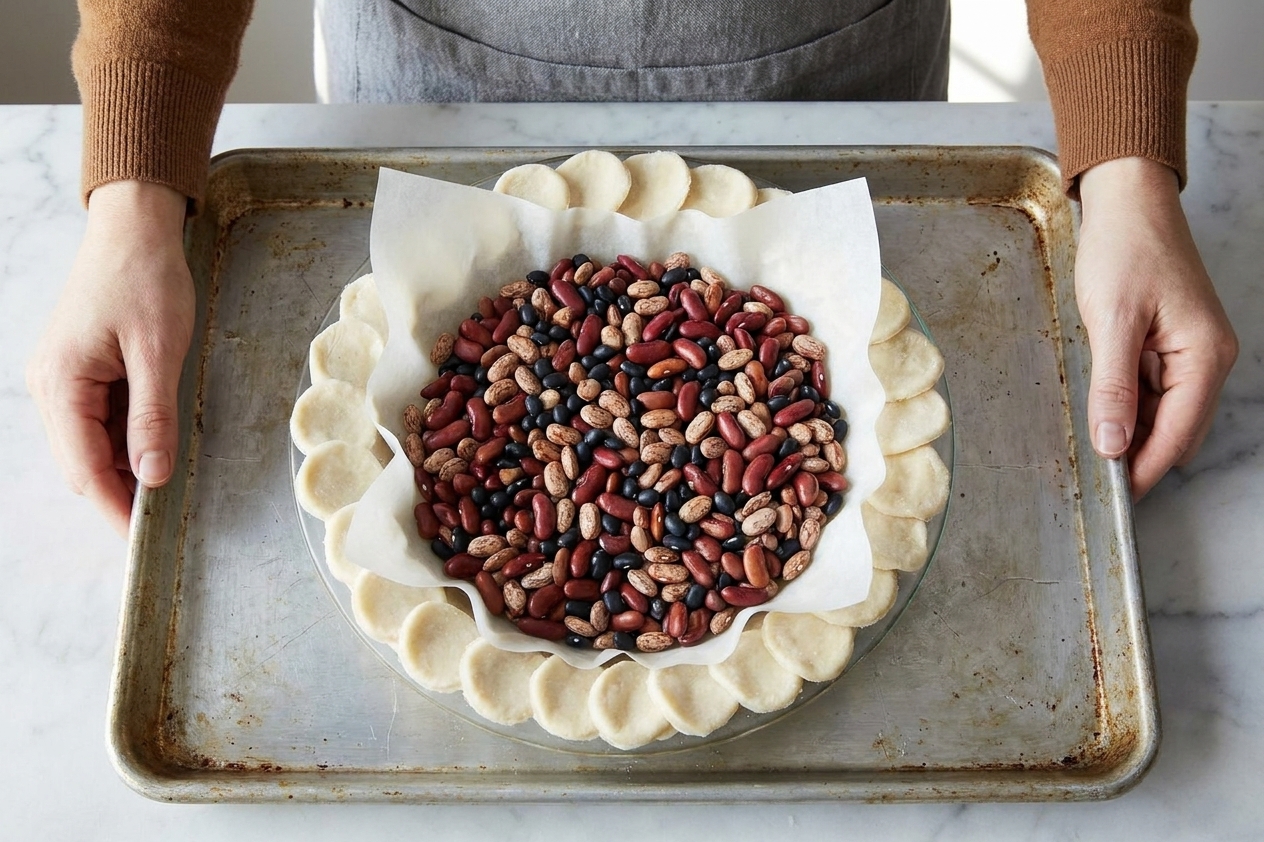
Docking note: I usually do not dock (poke holes in) the crust before using weights, because the weights do the job of preventing bubbles. If you see a few bubbles after the weights come out, you can lightly dock those spots and pop it back in the oven.
My no-soggy-bottom tip: If your recipe allows, brush the warm crust bottom with a lightly beaten egg white and bake 2 minutes more. It creates a thin barrier that helps keep fillings from soaking in.
Pie weights tip: If you use dried beans, save them for baking only. They will not cook up well for dinner afterward.
Crimping
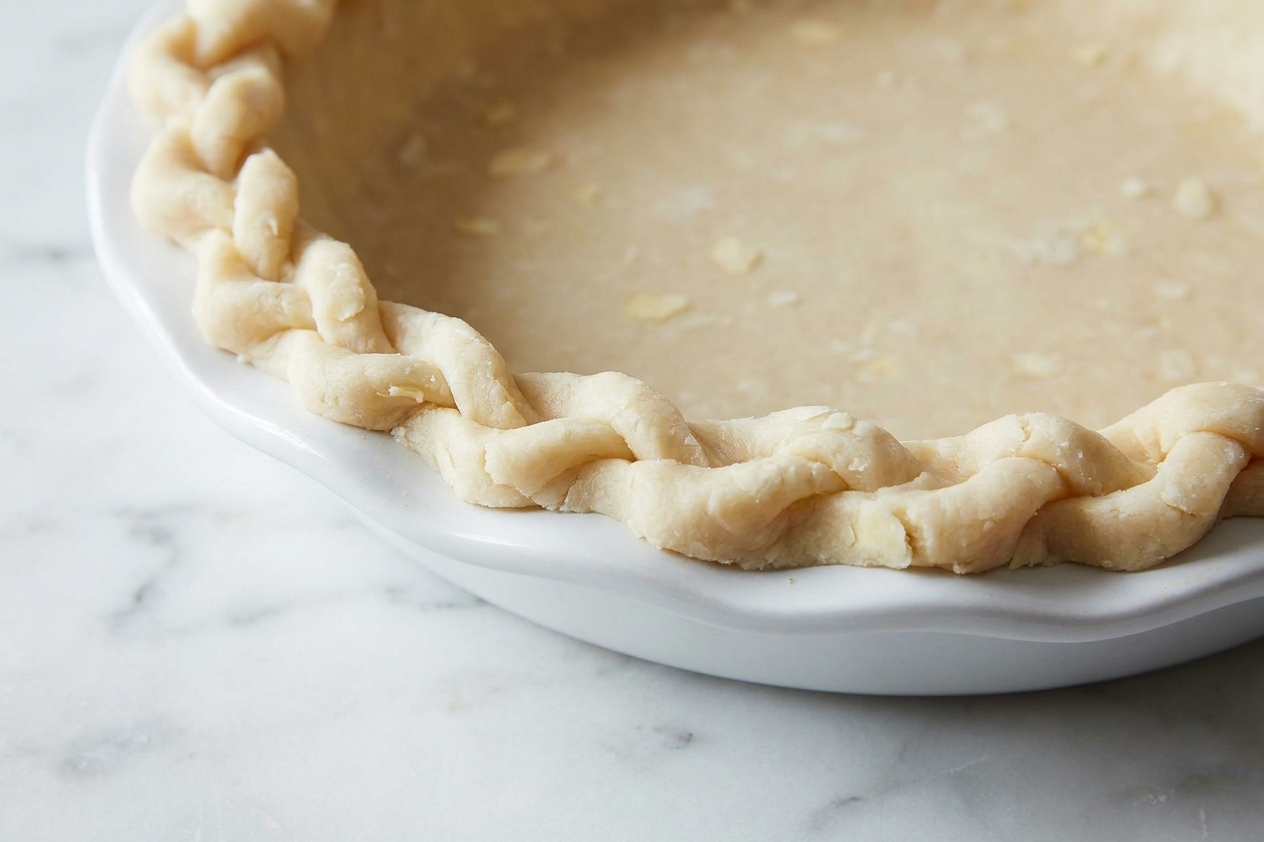
You do not need fancy crimps to make a beautiful pie. Here are three reliable options:
- Fork crimp: Tuck the overhang under itself, then press with a fork all around.
- Classic pinch: Use thumb and index finger of one hand to pinch, and the knuckle of your other index finger to push dough between.
- Rustic fold: Fold the overhang over the rim and pinch lightly for a thicker, homey edge.
Make-ahead
Refrigerator
Wrapped dough discs keep in the fridge for up to 3 days.
Freezer (my busy-parent lifesaver)
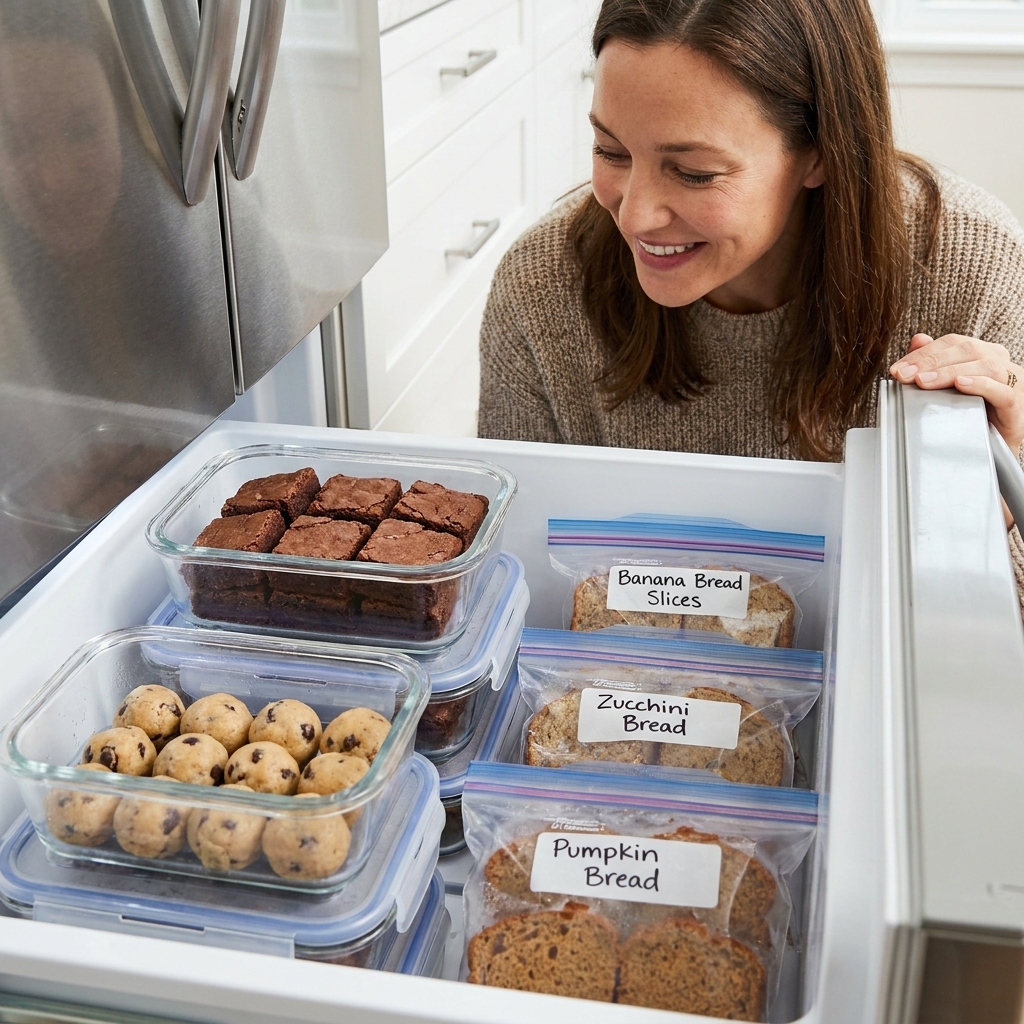
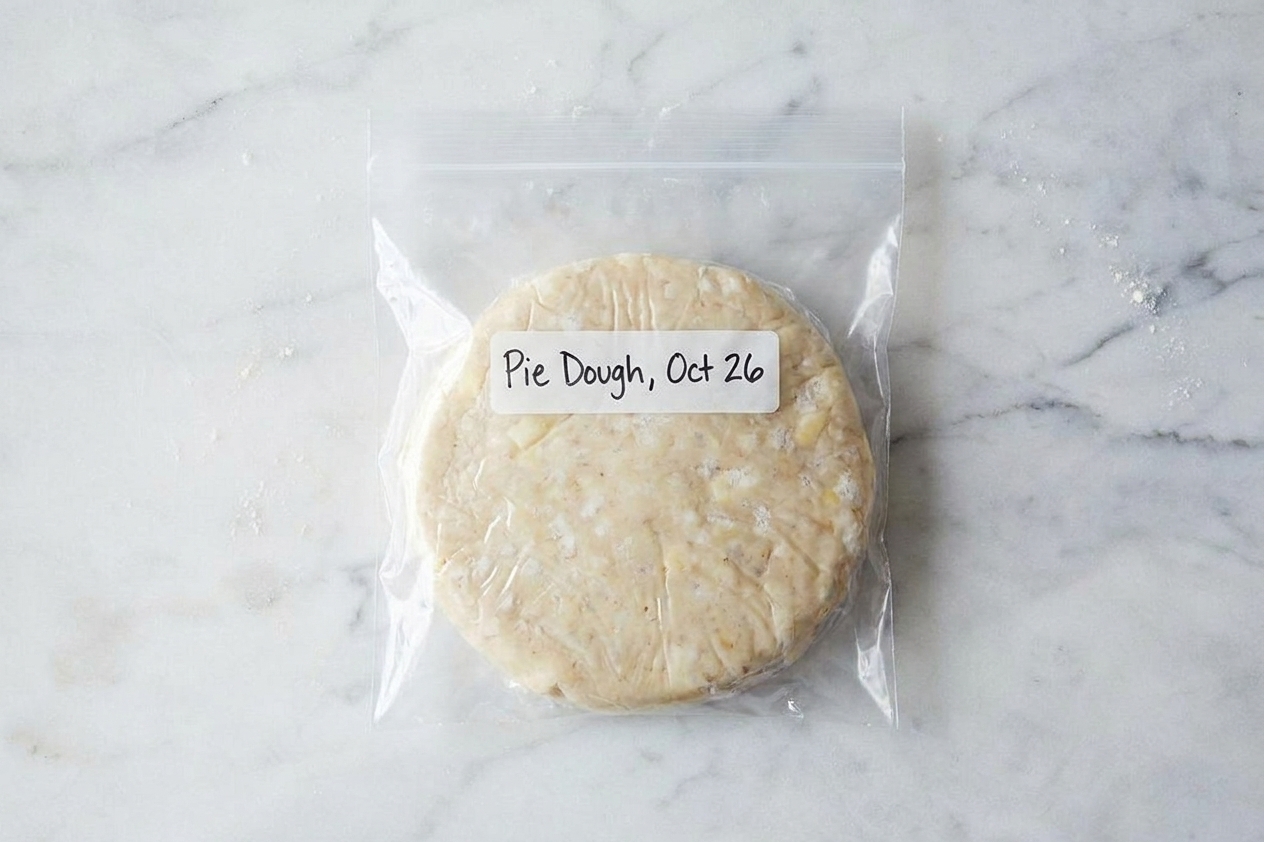
- Freeze dough discs: Wrap tightly, then place in a freezer bag. Freeze up to 3 months. Thaw overnight in the fridge.
- Freeze a shaped crust: Roll, place in a pie dish, wrap well, and freeze up to 2 months. Bake from frozen (add time) or thaw overnight.
Troubleshooting
Dough will not come together
Add ice water 1 teaspoon at a time, tossing gently. Usually you are just a tablespoon away from success.
Dough is sticky
It is a little too wet or warm. Chill the dough for 20 to 30 minutes, then roll with a light dusting of flour. Sticky dough is fixable.
Crust shrank
- Do not stretch the dough when fitting it into the dish.
- Chill the shaped crust before baking (15 to 30 minutes helps a lot).
- Make sure your oven is fully preheated.
Crust is tough
Most often it is overmixed or had too much water. Next time, stop mixing sooner and add water more slowly. Also, avoid re-rolling scraps too many times. Those scraps can be baked as cinnamon sugar “pie crust cookies” instead, and nobody complains.
Butter leaks while baking
This can happen if butter pieces are very large or the crust was not chilled enough. Chill the assembled pie and bake on a rimmed baking sheet to catch any drips. A little leakage is not the end of the world, but the sheet saves your oven.
Timing plan
- Night before: Make dough, wrap, chill.
- Day of baking: Roll crust, line dish, chill 15 minutes.
- Then: Fill and bake, or blind bake if needed.
If you are baking with kids around (hello, my life), the overnight chill is the secret. Cold dough is calmer dough.
FAQ
No food processor?
Absolutely. I make this by hand most of the time. A pastry cutter works great, and even two forks will do the job. The key is keeping your butter cold and not overmixing.
Butter vs shortening?
Butter gives the best flavor, hands down. Shortening can make an extra tender crust, but for most home bakers, an all-butter crust with good technique is both flaky and delicious.
Why add vinegar or lemon?
A small amount can help limit gluten development, which encourages tenderness. It can also make the dough slightly easier to roll out. You will not taste it.
Do I need pie weights?
If you are blind baking, yes, I recommend it. Dried beans work perfectly. Just keep a jar labeled “pie beans” and reuse them for baking only.
How thin should I roll it?
Aim for about 1/8 inch thick. If you like a sturdier slice, you can go slightly thicker, but avoid going so thick that it stays doughy.
Printable recipe
Foolproof Flaky Pie Crust (All-Butter)
- Yield: 2 crusts (enough for 1 double-crust pie)
- Prep time: 15 minutes
- Chill time: 2 hours (minimum)
Ingredients
- 2 1/2 cups (300g) all-purpose flour
- 1 teaspoon fine salt
- 1 tablespoon sugar (optional)
- 1 cup (226g) unsalted butter, very cold, cubed
- 6 to 10 tablespoons ice water
- 1 tablespoon apple cider vinegar or lemon juice (optional)
Instructions
- Whisk flour, salt, and sugar in a large bowl.
- Cut in cold butter until you have pea-size and almond-size pieces.
- Stir vinegar into ice water (if using). Drizzle in 6 tablespoons water and toss with a fork. Add more water 1 tablespoon at a time until dough holds when squeezed.
- Turn out onto counter. Gently press into a rectangle. Fold into thirds, then rotate and fold once more.
- Divide into two discs, wrap, and chill at least 2 hours.
- Roll one disc into a 12-inch circle for a 9-inch pie dish (keep the second disc chilled). Transfer without stretching. Chill 15 to 30 minutes before baking.
Notes
- Blind baking: Bake at 375°F with parchment and weights for 18 to 20 minutes (edges set and just starting to color). Remove weights, then bake 5 to 8 minutes more (bottom matte and dry) for partial, or 10 to 15 minutes more for fully baked.
- Oven setup: Middle rack; bake on a preheated rimmed baking sheet.
- Make-ahead: Refrigerate 3 days or freeze up to 3 months.